LOCATION 3 · STANDARD TIER · CHECKED SEP 1, 2026
How to Fish Desert Guide
Pufferfish Route
Desert is the third main location and the bridge between the early route and Rocks. Catch Bing Bong with Coconut, exchange it with the nearby islander for the Carrot, prepare for Pufferfish’s poison-gas phase, protect the Fin, and verify the Rocks marker before leaving.

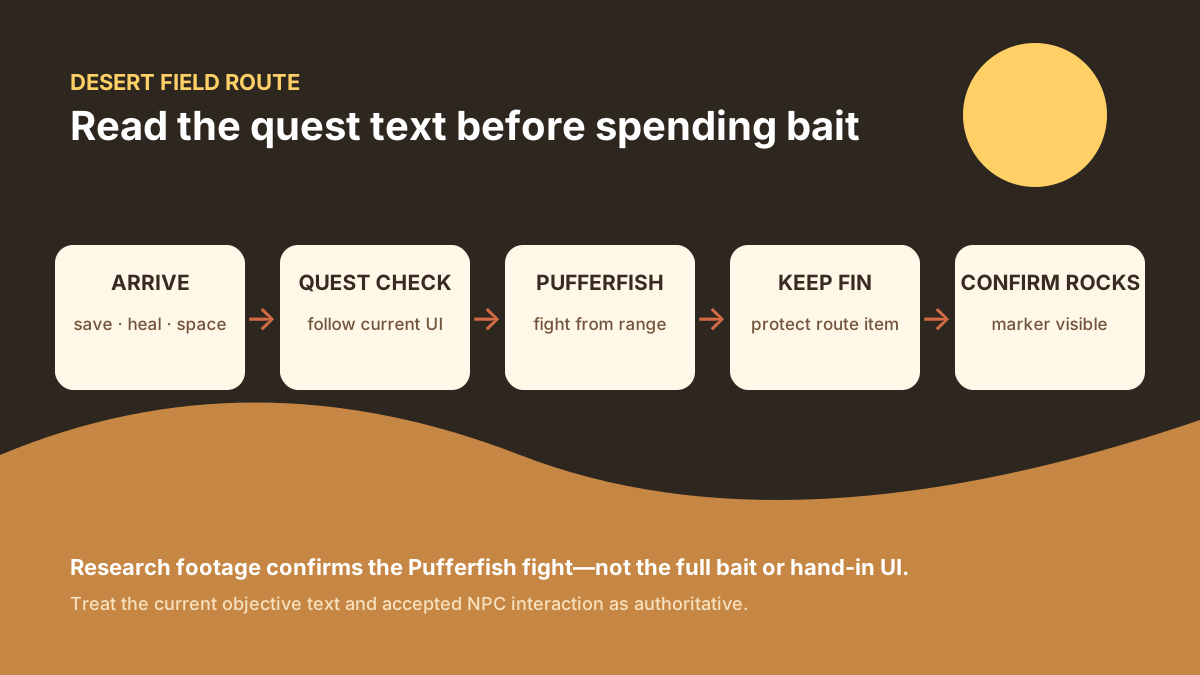
Desert route in one screen
The Desert contains several visible systems, but not all of them advance the story. Standard Lure catches belong to the ordinary collection pool. Blue Shark is listed in the local special pool but is treated as optional collection on this site. The owner-supplied Patch 1.0.10 sequence confirms the story preparation: obtain Coconut in the palm area, use it to catch Bing Bong, deliver that catch to the nearby islander, and inspect the Carrot reward before preparing the Pufferfish arena.
1. Map the settlement before casting
On arrival, save and walk the compact settlement. The analyzed recording shows a grill-side NPC, a nearby shop flow, open shoreline, and a Reel of Fortune sign. It does not establish official English names for the NPCs, so use location and function to find them. Locate a wide fighting lane that does not point toward the boat, the water, or a tight cluster of structures.
- Save before shopping.Optional bait and weapon purchases can consume the cash needed to recover a failed story attempt.
- Read every active objective.Screenshot or note the requested creature and reward in your current localization.
- Reserve a progression slot.Keep one inventory space empty for the Pufferfish Fin or other accepted quest item.
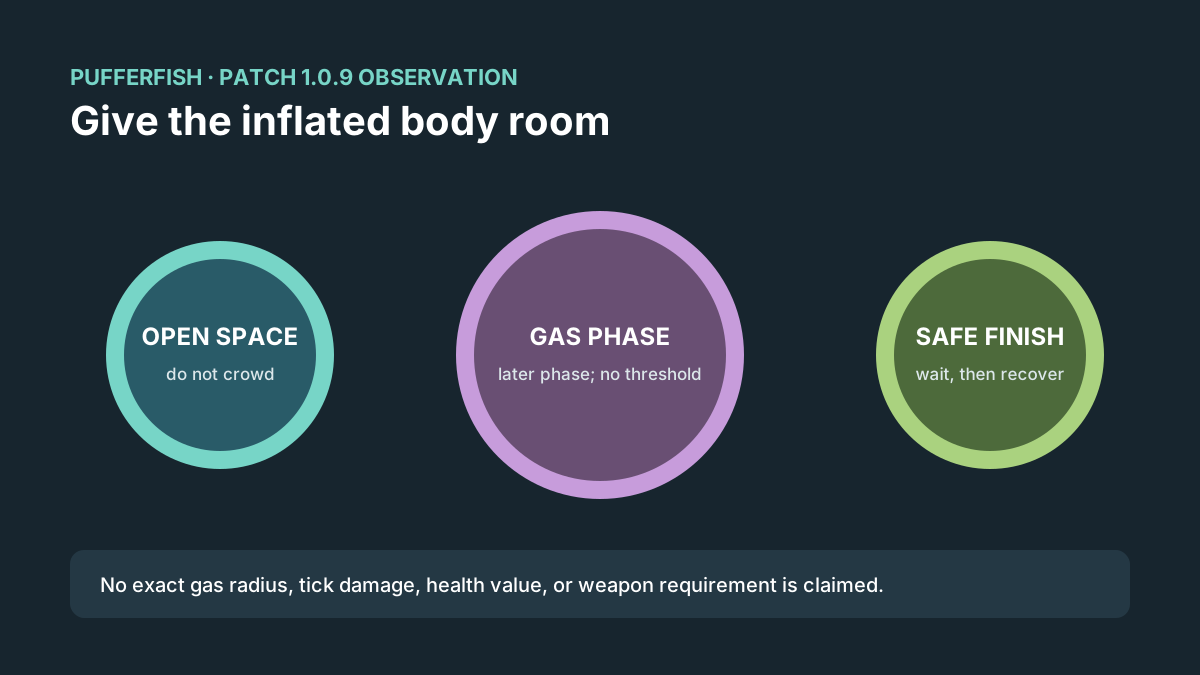
- Choose a gas-safe arena.Give the inflated body enough room that you can retreat without entering water or losing sight of the drop.
The recording’s creator captions mention a Blue Shark-related grill step and a “red fish” leading toward Pufferfish bait. Those captions are not enough to publish an exact English quest recipe: the item names and dialogue are unreadable, and no complete exchange is shown. This guide therefore tells you where to verify the chain instead of guessing the missing nouns.
2. Use Standard Lure for collection, not progression
The creature encyclopedia assigns the regular Desert set to the Standard tier. This pool is useful for filling collection gaps, building a food reserve, and replacing routine supplies. Check the lure guide before casting: Standard Lure, Standard Boss Lure, and a quest-issued Pufferfish bait are different purposes even when they are sold or carried in the same area.
Use ordinary catches to learn the terrain. Land them on the side of the shoreline with the longest retreat path, put the rod away, and subdue them without backing into the sea. Inspect the actual name and value in your current build. The research footage does not provide a reliable ordinary-fish list or readable prices, so this page does not derive those numbers from subtitles or blurry inventory tiles.
Standard route jobs
- complete regular Desert encyclopedia entries;
- practice landing away from water;
- earn replaceable supplies;
- keep one safe food item;
- test ranged control before the boss.
Separate branches
- Blue Shark is optional collection here;
- Pufferfish is the story combat focus;
- Reel of Fortune is cosmetic side content;
- grill experiments use non-quest catches;
- the Rocks marker comes from the completed route step.
The analyzed captions claim cooking can reach a 1.5× multiplier, but the method is not shown clearly enough in this clip to serve as a cooking tutorial. If you use the grill, experiment only with an ordinary catch and watch the live interface. Never place the Pufferfish Fin, a quest bait, or another unique body part on the grill.
3. Catch Bing Bong with Coconut and secure the Carrot
Begin at the palm area while the Desert objective is active. Obtain the Coconut, move to a clear shoreline, and use it for the objective cast. The Patch 1.0.10 recording shows the resulting creature name as Bing Bong. Land it on dry ground and keep it intact. Do not cook, sell, throw, or mix it with ordinary collection catches.
- Confirm Coconut before casting.Check the equipped slot and live objective. The recording does not expose a trustworthy shop price or prove that every Coconut state works outside the quest.
- Catch and identify Bing Bong.Use the visible in-game name as the confirmation. If another creature appears, return to the Coconut and objective check instead of spending optional boss lure.
- Carry the catch to the nearby islander.The source does not establish an official English NPC name, so follow the active marker and use the islander who accepts the objective catch.
- Wait for the exchange to finish.Do not walk away at the first dialogue line. Check for the objective change and inspect the reward slot.
- Verify the Carrot.Reserve it for Pufferfish and make a manual save before preparing the combat lane.
Standard Boss Lure belongs to the optional Blue Shark branch and does not replace this chain. If the Coconut, Bing Bong label, or Carrot reward differs after a patch, follow the current objective and record the mismatch. The tips guide explains the supporting Patch 1.0.10 sequence and keeps the version-sensitive movement shortcuts separate from the story route.
4. Build for distance and a phase change
Pufferfish becomes harder when a player stands close and keeps firing through the phase transition. Bring a controllable ranged weapon, enough ammunition to pause and re-engage, healing food, and open inventory space. The video’s creator recommends particular weapons and upgrades, but the clip does not verify a mandatory gun, price, damage number, or attachment. No exact loadout requirement is published here.
Plan a loop around the arena before the cast. Identify the water edge, structures that can trap the camera, the route back to the NPC, and the place where a defeated body is likely to settle. Keep teammates on the same side of the target so the retreat lane stays open. In co-op, nominate one player to watch the gas and one to watch the shoreline; everyone shooting from a different direction can pull the body toward an unsafe edge.
5. Fight Pufferfish without standing in the gas phase
After the special quest item produces the encounter, move away from the water and let Pufferfish settle on open ground. Keep medium range, use short bursts, and watch the body rather than staring only at the health bar. The recording shows the creature in an inflated state for a sustained fight and supports the kill notification at the end.
Opening phase: preserve room
Circle or strafe across the body’s approach. Do not pin yourself against a wall or the boat. Fire during stable windows, then stop early enough to move. If the target drifts toward the shoreline, reposition around it rather than chasing directly behind; the most important outcome is a recoverable final location.
Later phase: expect poison gas
The research clip and its visible combat sequence show poison gas after Pufferfish’s health has been reduced, with the inflated body becoming more threatening as health falls. The exact trigger, radius, duration, tick damage, and scaling are not measured. When the phase begins, break contact immediately, move outside the visible cloud, heal if necessary, and wait for a clean ranged window. Do not trade damage inside the gas simply to shorten the fight.
During the finish, keep the body in view and stop using explosives or wide attacks once health is low. After the kill notification, search the immediate arena and inventory. The established route identifies the protected result as the Pufferfish Fin; because the recording does not show a readable English drop UI, confirm the exact item name in your current build before leaving.
6. Protect the Fin and confirm the Rocks marker
Do not sell, eat, cook, drop, or gamble with the Pufferfish Fin. Return to the relevant Desert quest NPC and complete the accepted exchange. The site’s five-location route uses the Fin hand-in to open Rocks. The analyzed clip ends without a reliable hand-in or Rocks transition, so do not use the video timeline as proof that your own save advanced.
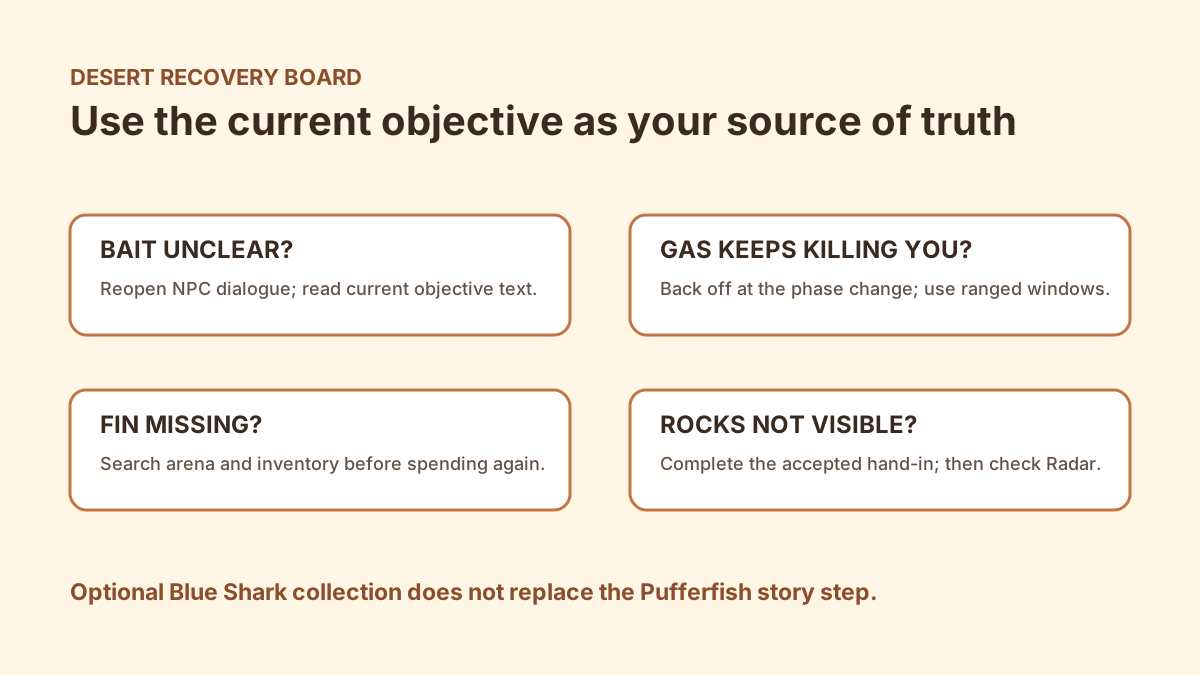
The departure test is state-based: the NPC accepts the item, the objective changes, the next destination becomes available, and the save records the new state. Check the Radar or current navigation system before boarding. If Rocks is absent, return to the NPC with the Fin and repeat the interaction. Do not catch Blue Shark in the hope that an optional special will replace the Pufferfish route.
Desert troubleshooting: use observable state