6 PRACTICAL TECHNIQUES · VIDEO-CHECKED SEP 1, 2026
How to Fish Game
Tips and Tricks
These six techniques come from an owner-supplied Patch 1.0.10 gameplay recording. Start with the safe fishing and throw controls, then test the equipment and movement shortcuts on a clean save before relying on them during a boss route.
1. Fish from the shore without a long cast
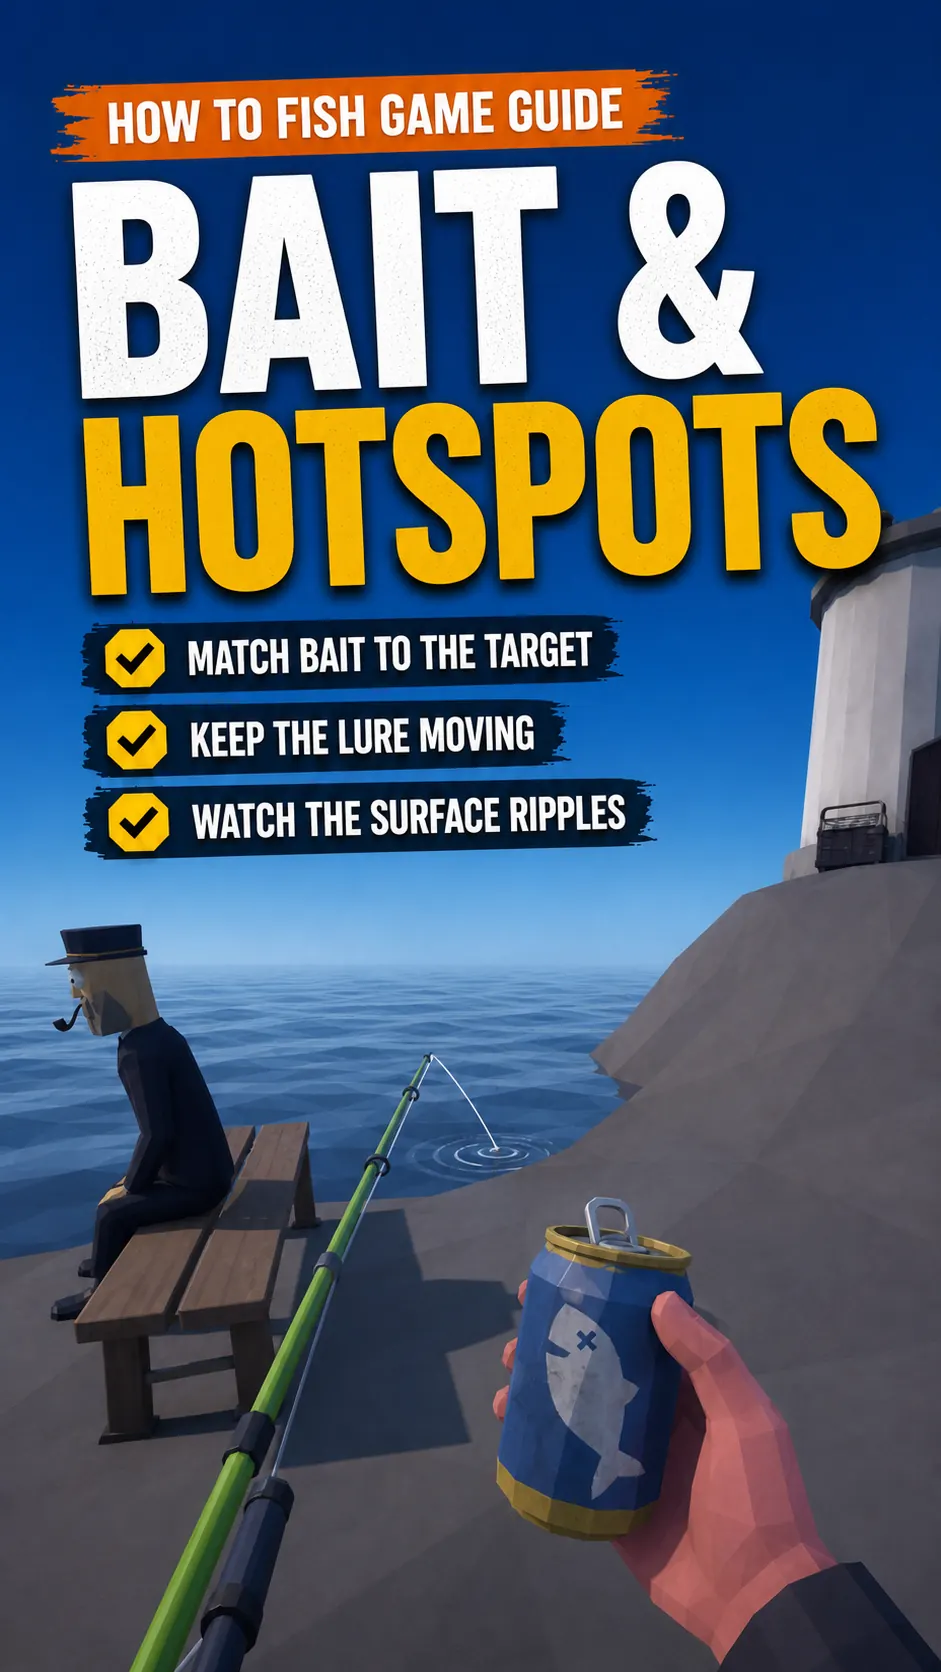
You do not need a dramatic cast for routine fishing. Stand at a safe edge, put the lure into reachable water, and keep enough dry ground behind you to land the catch. A short placement is easier to control because the fight begins close to the lane you already inspected. The recording shows the player working directly beside the shore rather than trying to reach the middle of the water.
- Choose a clear landing strip.Remove loose bodies and avoid a bank that slopes straight back into deep water.
- Put the lure into nearby water.Use the shortest placement that still starts the fishing interaction. Do not step off the edge while watching the float.
- Land and inspect the catch.Pull it onto dry ground, move out of attack range, and decide whether it belongs to the route, collection, food, or sale loop.
- Right-click to release an unwanted catch.The supplied PC run shows a right-click release. Check your current binding if the prompt differs.
The creator reports that this quick release usually preserves the bait in the observed loop, but the clip does not prove a fixed consumption rule. Treat the inventory counter as the test: note the bait count before the cast, release one low-value catch, and check the count again. Do this with ordinary bait before risking a named boss item.
2. Cool a cooked weapon in water before replacing it
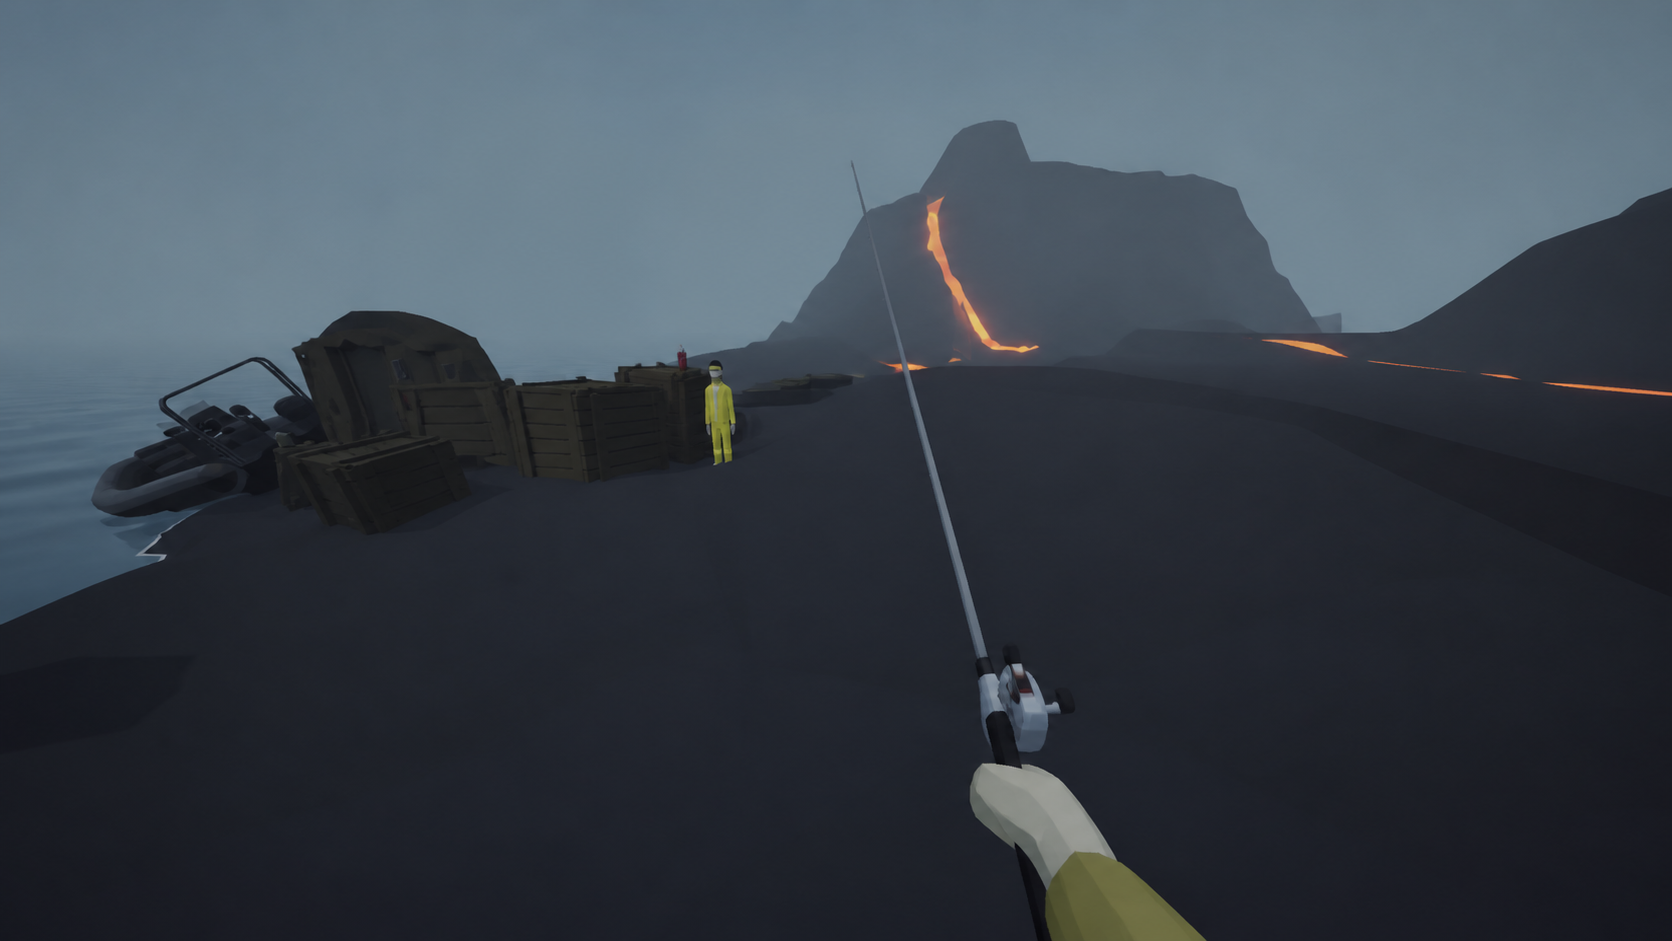
Volcano lava can change a dropped weapon into a visibly cooked state. In the captured run, placing that weapon in water and retrieving it restored the normal appearance. This is a recovery test for a weapon you can safely handle, not a promise that every item, durability state, or future patch will reset the same way.
- Move away from the active fight.Do not test beside the final boss, a quest body, or a lava gap that can swallow the item.
- Make a manual save.Use a cheap or replaceable weapon first and keep expensive attachments out of the experiment.
- Place the affected weapon in shallow water.Choose water where the item remains visible and reachable from land.
- Retrieve and inspect it.Compare its appearance and normal use state before returning to the route.
If the weapon sinks, disappears, remains altered, or cannot be picked up, stop. Reload the safe state rather than repeating the same drop with better gear. The recording proves one visible recovery sequence only; it does not prove that water repairs lost statistics or reverses every environmental effect.
3. Double-tap the sniper slot for a faster follow-up
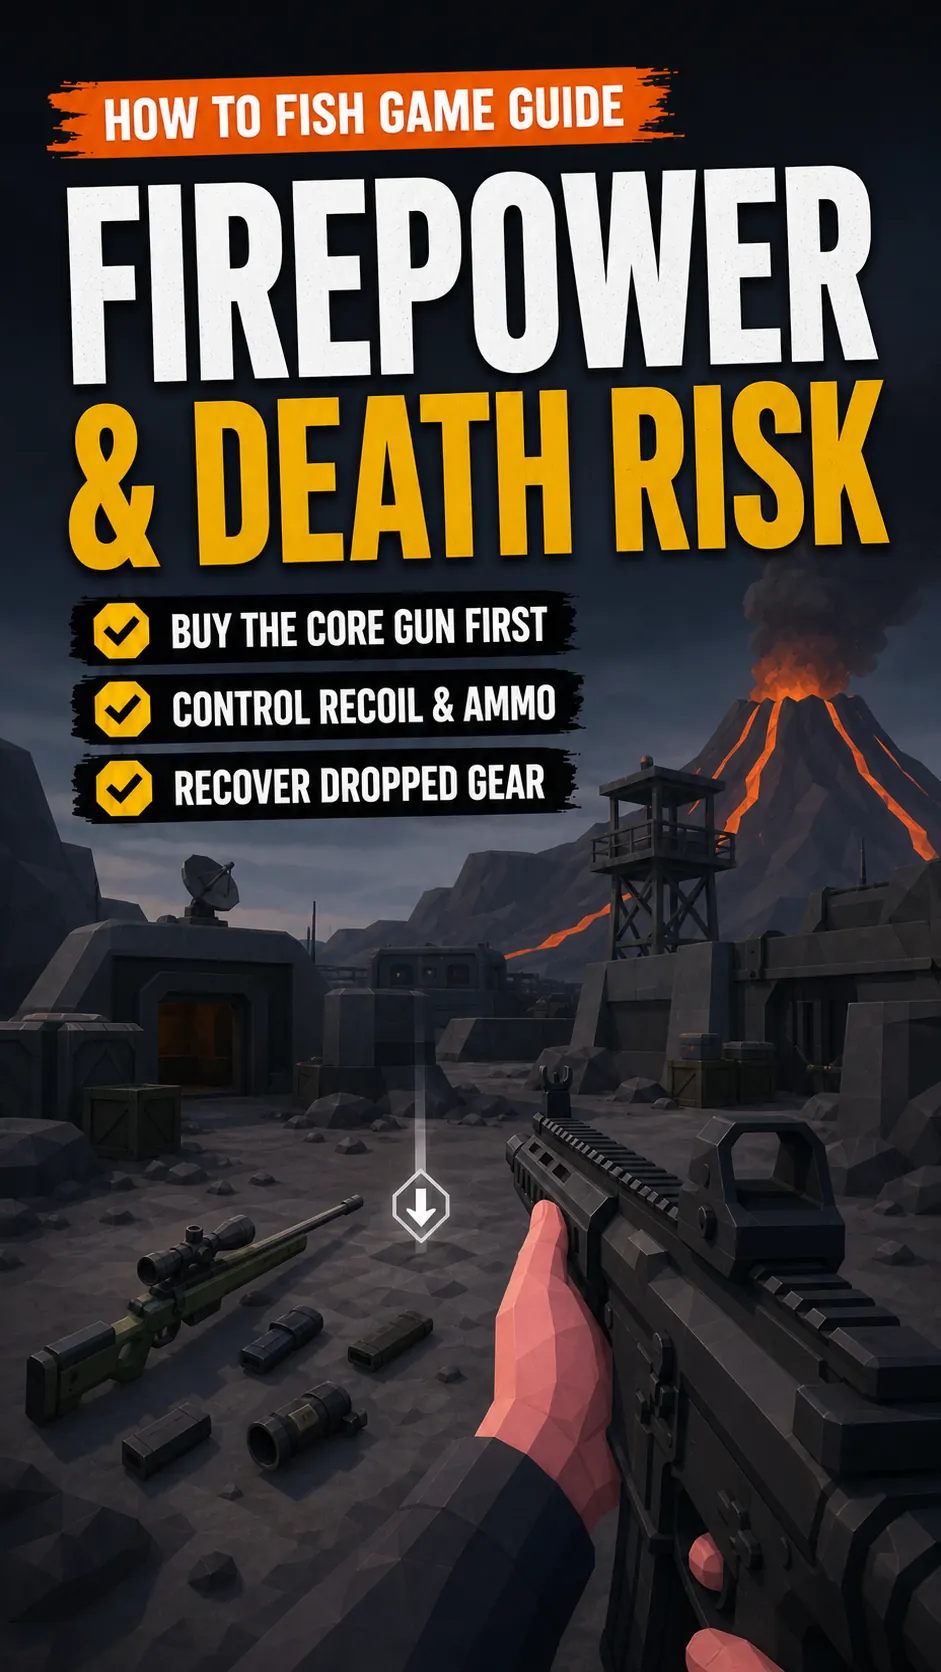
After a sniper shot, the supplied run double-taps the weapon’s numbered inventory slot. The visible bolt-cycle is skipped and the weapon is ready sooner for the next shot. This is an animation cancel observed on Patch 1.0.10, so it belongs in the advanced category: useful when it works, easy to lose after an update, and never required for a safe boss strategy.
- Fire one controlled shot.Use a stationary ordinary target or an empty practice lane so a missed input does not cost a boss attempt.
- Tap the sniper’s number twice.The first input changes or reselects the slot; the second returns the weapon to hand.
- Wait for a clear ready state.Do not fire solely because the animation looks shorter. Confirm the weapon responds normally.
- Compare with the standard cycle.If the timing is inconsistent, use the intended bolt animation and reload rhythm.
Do not build a loadout around an exact fire-rate gain: the video contains no frame-timed measurement. In co-op, avoid testing this while another player crosses your line. A faster follow-up is only valuable when the lane, ammunition count, and target read remain under control.
4. Punch a beached boat back toward open water
A boat can wedge against the shore or scenery before the route is complete. The recording shows the player punching the hull to move and steer it back toward open water. Use this as a recovery technique for a boat you already unlocked. The same source demonstrates pushing a boat toward another island without the expected key, but that skip is not part of this guide because the destination may load while the quest, hand-in, or key state remains incomplete.
- Stop the engine and inspect the hull.Find the side touching land and the nearest direction with continuous open water.
- Stand on stable ground.Do not position yourself between the hull and deep water or a cliff edge.
- Punch the landward side in short bursts.Watch whether the bow rotates or the whole hull slides; adjust your angle after each movement.
- Board only when the boat floats freely.Restart normal steering and confirm the active route marker before departing.
If the boat moves deeper into terrain, stop and reload rather than adding more physics force. Never use a progression drop, explosive, or expensive weapon as a pushing tool. The goal is to recover a legitimate vehicle state, not to bypass the NPC chain that awards access.
5. Use shotgun recoil for extra height
The recorded player combines a jump with a downward shotgun blast to reach a coconut tree. The recoil produces a visible lift beyond the normal jump. It is a situational movement tool, not a damage-free shortcut: the same sequence shows Pufferfish still able to hit the player, and the clip does not measure fall damage, ammunition cost efficiency, or a maximum reachable height.
- Choose open ground and a low test ledge.Remove hostile creatures and keep water, lava, roofs, and steep drops out of the landing zone.
- Face the intended landing direction.Build a straight approach so the camera does not need a large correction in the air.
- Jump, aim down, and fire once.Use one blast to read the recoil. Do not spam shots while you are unable to see the landing.
- Recover before repeating.Check health, ammunition, and nearby enemies; climb normally when a safe path exists.
For the Desert coconut objective, the normal terrain route should remain your first choice. Use the recoil jump only after the story objective is active and the Coconut can be recovered safely. A movement trick that reaches the tree but leaves you without health or ammunition for Pufferfish is a poor trade.
6. Hold Q to charge a longer throw
A quick tap and a charged throw are different actions. In the supplied PC recording, holding Q displays a circular charge indicator and increases the throw distance before release. This is the most broadly useful advanced control because it helps move ordinary bodies, test value tricks, and clear clutter from a work area. It can also lose an item permanently if the landing zone is water, lava, or a steep slope.
- Pick up a cheap practice object.Do not learn with a boss trophy, special bait, expensive weapon, or the whole Bowhead body.
- Point at open, level ground.Leave more space than a normal drop needs and keep other players clear.
- Hold Q and watch the circle.Build charge while keeping the projected direction stable; the recording does not establish a universal maximum duration.
- Release and mark the landing.Compare one short hold with one longer hold, then retrieve the object before continuing.
Controller bindings are not established by this PC clip. If Q does nothing, inspect the current control menu rather than assuming the mechanic was removed. When moving a progression item, prefer carrying or a short controlled placement. Distance is useful only when the object remains visible and recoverable.
Desert application: Coconut → Bing Bong → Carrot
The same Patch 1.0.10 recording supplies a missing Desert dependency. Use the Coconut from the palm area as bait to catch the creature visibly labeled Bing Bong. Bring that catch to the nearby islander involved in the objective, wait for the exchange to register, and inspect the reward. The demonstrated chain leads to the Carrot used for Pufferfish.
The footage does not expose a reliable official English name for the islander or a readable Coconut price, so this guide identifies the NPC by location and function. The full Desert walkthrough contains the save, hand-in, Pufferfish, Fin, and Rocks checks. Do not cook, sell, or throw Bing Bong after the objective catch, and do not cast the Carrot until the fight lane is ready.