LOCATION 2 · BEGINNER TIER · CHECKED AUG 29, 2026
How to Fish Forest Guide
Giant Piranha Route
Forest is the second stop on the five-location story route. Stabilize your supplies, separate ordinary Beginner-lure fishing from the local quest, follow the Leech counter shown by your current build, verify the special bait, defeat Giant Piranha, protect its Skeleton, and confirm the next destination before you sail.
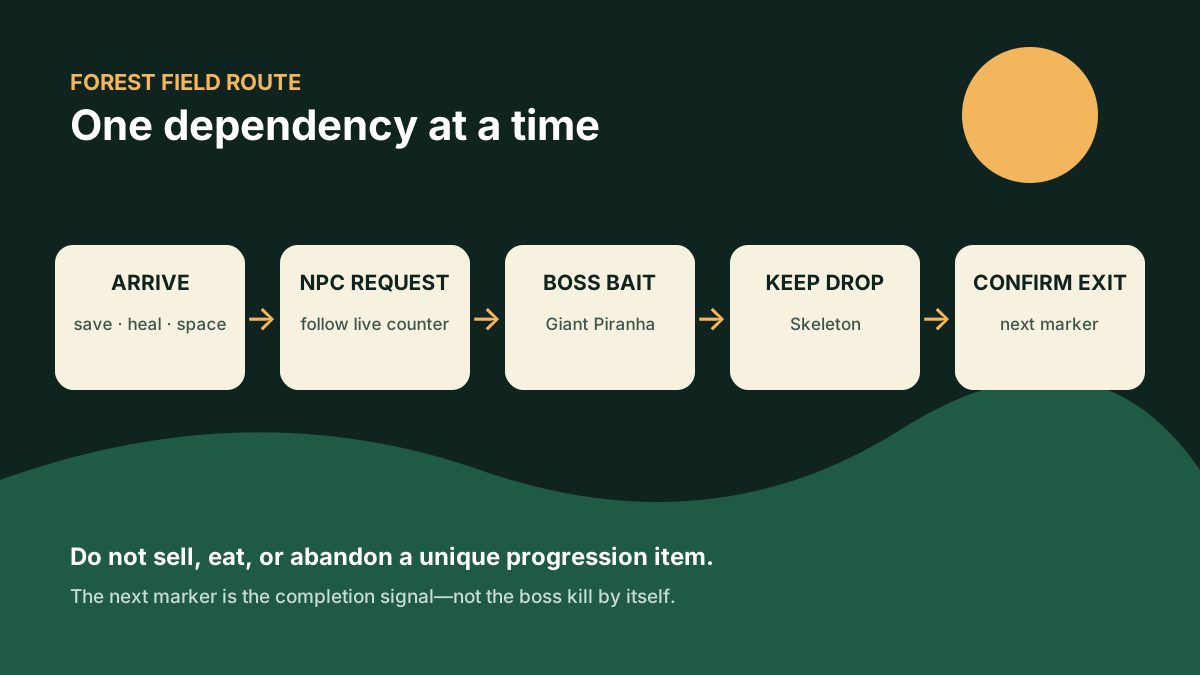
Forest route in one screen
Forest mixes three activities that are easy to confuse: ordinary fishing for food and money, an NPC request that supplies the progression bait, and the Giant Piranha story encounter. Treat them as separate lanes. An ordinary lure can help finance the run, but it does not replace the quest item. A boss kill can clear the fight, but it does not replace the Skeleton hand-in. Before spending anything, read the current objective, make a save, and reserve an inventory slot for the item that must leave the arena.
1. Set up a safe Forest checkpoint
Do not run directly from the boat to the water. Walk the settlement first and identify the shop, the central older NPC, the quest-giver near the fishing area, a clear shoreline, and the route back to your boat. The research clip shows these landmarks but does not expose reliable English NPC labels, so this guide identifies them by function instead of inventing names. Save after landing and again after any quest exchange that changes your objective.
- Check health, hunger, and recovery food.Keep food in a predictable slot. Do not mix it with a unique body part or special bait.
- Reserve two inventory spaces.One is for the quest bait or intermediate item; the other is for the Giant Piranha Skeleton.
- Choose a landing lane.Use open ground beside the water so a hooked creature cannot immediately slide back into the lake.
- Read the active objective.Record the requested count before collecting. If your patch says something different from this page, follow the current UI.
The safest economy rule is to buy only what solves the next failure. The footage clearly displays Dynamite at $25 in Patch 1.0.8, but a visible old-build price is not a promise that the current shop matches it. Inspect the label in your own game. A dependable ranged weapon is useful because the boss creates distance and adds, yet no specific gun or upgrade level is required by the evidence.
2. Keep the ordinary Forest pool separate
The local collection pool includes early and Beginner-tier creatures in the site’s 49-creature log. Use the creature checklist to identify missing entries and the lure guide to distinguish regular lure tiers from story bait. Ordinary fishing is useful for a recovery meal, modest cash, and control practice. It is not proof that the quest is complete and it does not summon Giant Piranha.
Practice the complete catch loop before risking a special item: cast toward a clear patch, reel without dragging yourself into the water, land the creature on stable ground, put the rod away, create distance, and only then switch to a weapon. The analyzed recording shows a discovery popup for a creature translated in the Chinese overlay as a perch-like name, but the English localization and its value are not legible. This page therefore does not attach that frame to a specific English encyclopedia entry.
Use ordinary fishing for
- one safe food reserve;
- collection progress;
- learning the shoreline geometry;
- replacing expendable supplies;
- testing weapon control on low-risk catches.
Do not use it to infer
- that the current Leech objective advanced;
- that the special bait is equipped;
- that Giant Piranha can appear;
- that a catch value is unchanged after a patch;
- that the next location is unlocked.
3. Follow the current Leech request before the boss cast
The clearest Forest dependency in the analyzed footage is a Leech request. A Patch 1.0.8 counter displays 2/3, while a separate Patch 1.0.9 route instructs the player to find three Leeches under trees and visibly shows a Leech pickup. Together they make three the strongest old-build lead, but neither recording establishes it as a current cross-version rule. Read the number in your active objective, collect exactly that amount, return to the same quest-giver, and wait for the interaction to finish. Afterward, inspect the received item and objective text before walking away. Existing route data calls the resulting story bait the Modified Leech; because neither localized recording clearly shows that English inventory label, use the exact name displayed by your current build as the final check.
Do not confuse “I filled the visible counter” with “the NPC accepted the request.” Inventory collection and quest completion are separate states. If the counter is stuck, place the requested Leeches in normal inventory, reopen dialogue, and make sure another player is not holding one. In co-op, let the host or the player whose objective is active perform the exchange, then have everyone verify that the objective changed before a special bait is consumed.
4. Prepare for adds, not a theoretical damage number
Giant Piranha is easier when the loadout supports movement and target switching. Carry one reliable ranged weapon, enough ammunition for a longer second phase, healing food, and an empty quest-item slot. The video recommends a shotgun, but it does not prove that a shotgun is mandatory or that a particular upgrade is current. Use the firearm you can control while strafing. A weaker accurate weapon is better than an expensive one that leaves you unable to replace bait or recovery supplies.
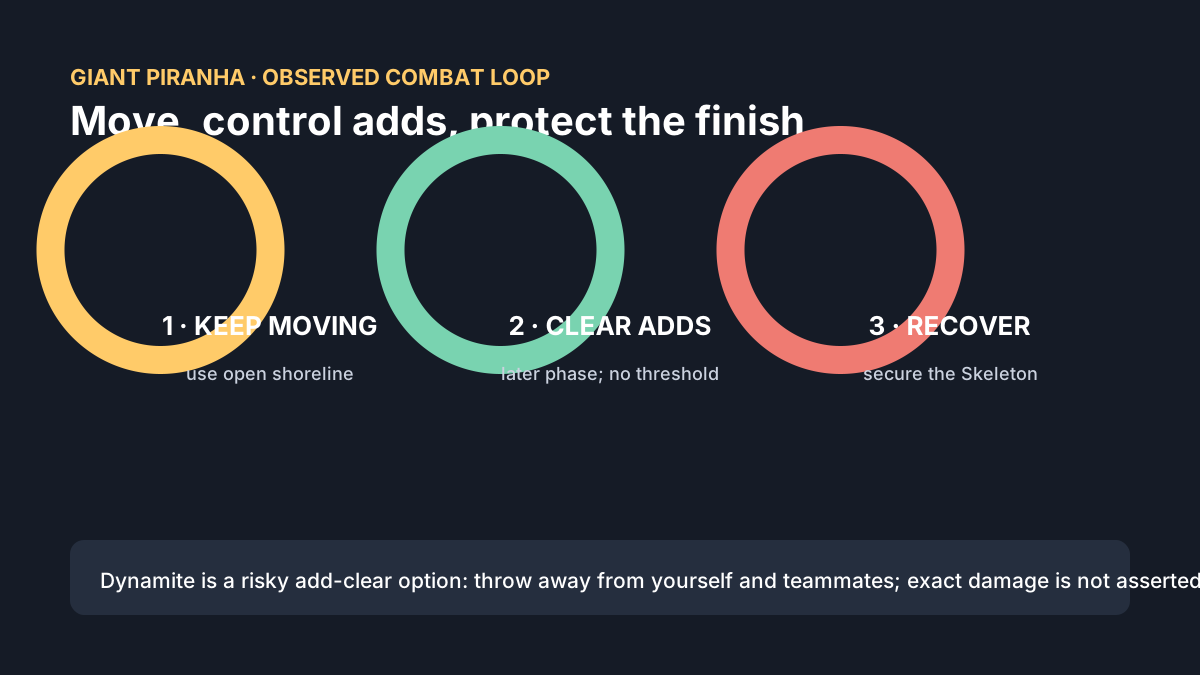
Dynamite appears in the captured shop and the footage demonstrates the throw control with Q. It also demonstrates the danger: an early throw detonates close enough to kill the player. Later, the recording uses an explosive against the boss and its adds. Treat that as an optional crowd-control tactic, not a guaranteed one-shot formula. Throw only into open ground, away from yourself, teammates, the boat, and the progression drop. Exact radius, damage, and repeatability are not asserted.
5. Fight Giant Piranha in two observed phases
Equip the special bait only after the arena is ready. Stand where the landed creature has room to move without immediately falling back into deep water. Once the boss appears, move laterally across its line instead of retreating toward the boat. Keep the camera wide enough to see both the main body and the small fish that enter the fight.
Opening phase: learn the approach
During the opening portion, prioritize clean movement and short damage windows. Do not hold your ground for one extra shot if the boss has committed to an approach. Cross the attack line, turn, fire during recovery, and reset. If small fish arrive, clear the closest threat before it traps you against terrain. The Patch 1.0.9 recording shows defeated adds being collected/eaten during the encounter as a recovery tactic, but it does not measure the health or hunger effect. Treat this as an emergency opportunity, not a guaranteed numeric heal.
Later phase: control the extra pressure
After the boss’s health has been reduced, the recording shows Giant Piranha becoming airborne and continuing to summon small fish. The clip does not establish a precise health threshold. This is the point where a seemingly comfortable attempt can collapse. Stop tunneling the boss. Preserve a movement lane, clear clustered adds, heal before critical health, and resume damage after the main body commits and recovers. If you use Dynamite, throw it into the add cluster only when the boss item and teammates are clear. The source captions claim a large boss-health effect, but this guide does not publish that exact claim because the clip does not establish a stable damage value.
After the final hit, stop firing. Search the landing area, identify the boss body and progression item, and pick up the Giant Piranha Skeleton before looting ordinary drops. Make a save only after the item is confirmed in inventory. A combat win without the Skeleton leaves the route unfinished.
6. Finish the Skeleton hand-in and confirm departure
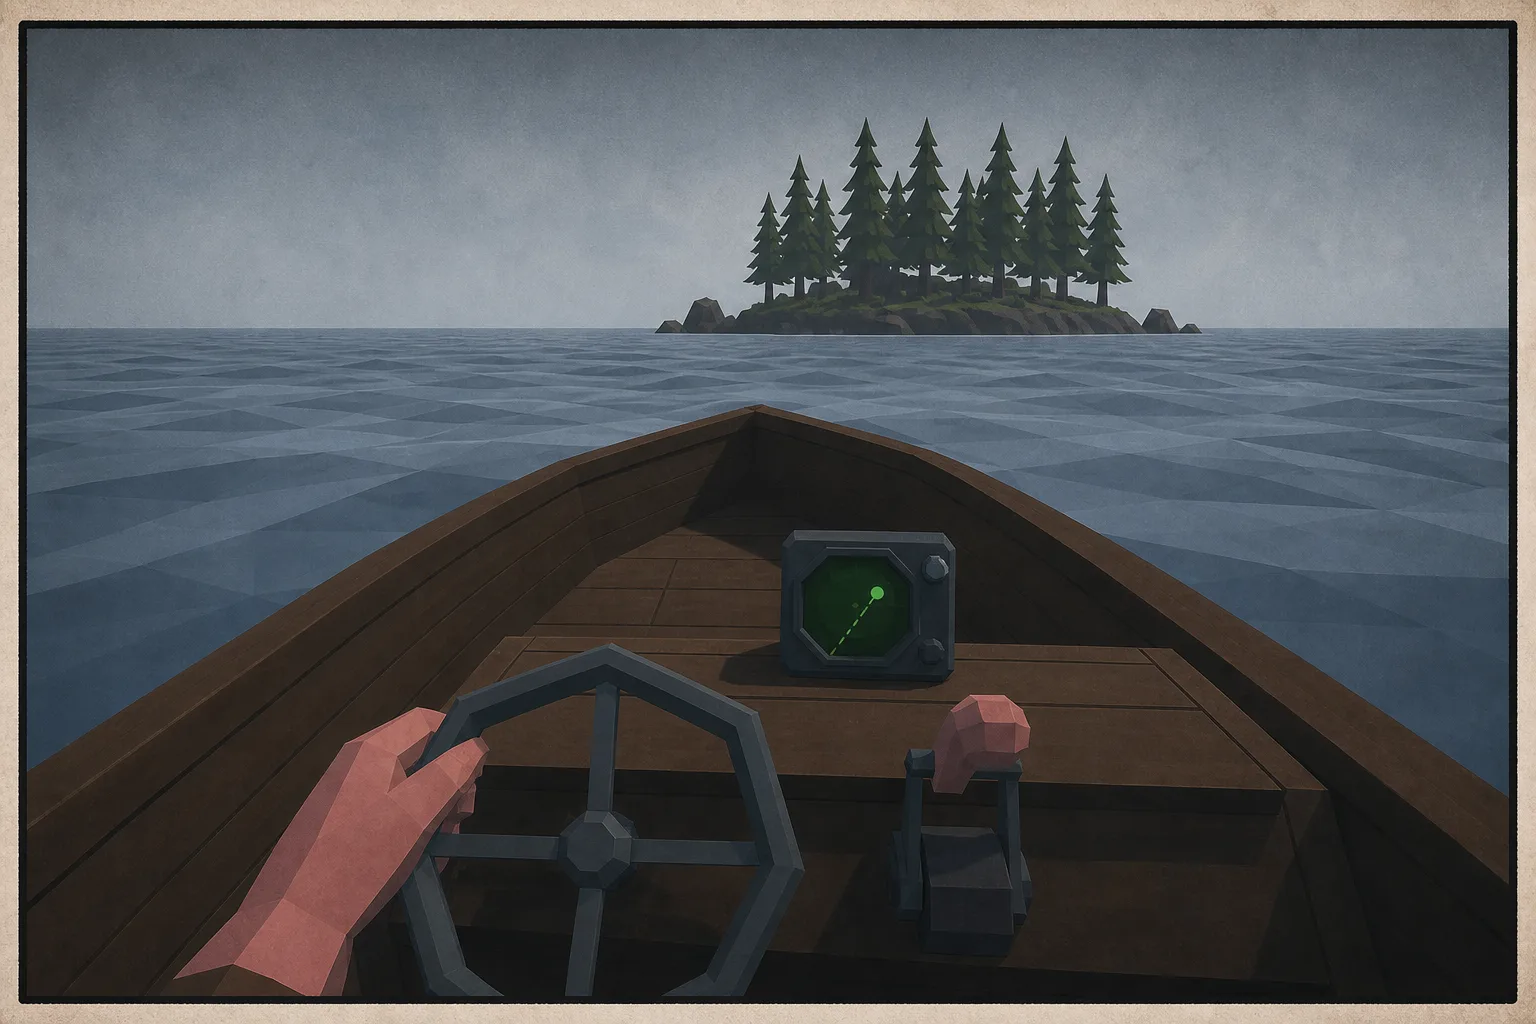
Return the Giant Piranha Skeleton to the relevant Forest quest NPC. Keep it out of any sale, cooking, or food interaction. Reopen dialogue until the game acknowledges the exchange, then check the objective and Radar. The established five-location route uses this hand-in to advance from Forest toward Desert; the research clip shows departure toward a palm-covered destination but does not display a canonical English “Desert” label. For that reason, the reliable completion test is the newly available destination state in your current game, not the appearance of the old subtitle.
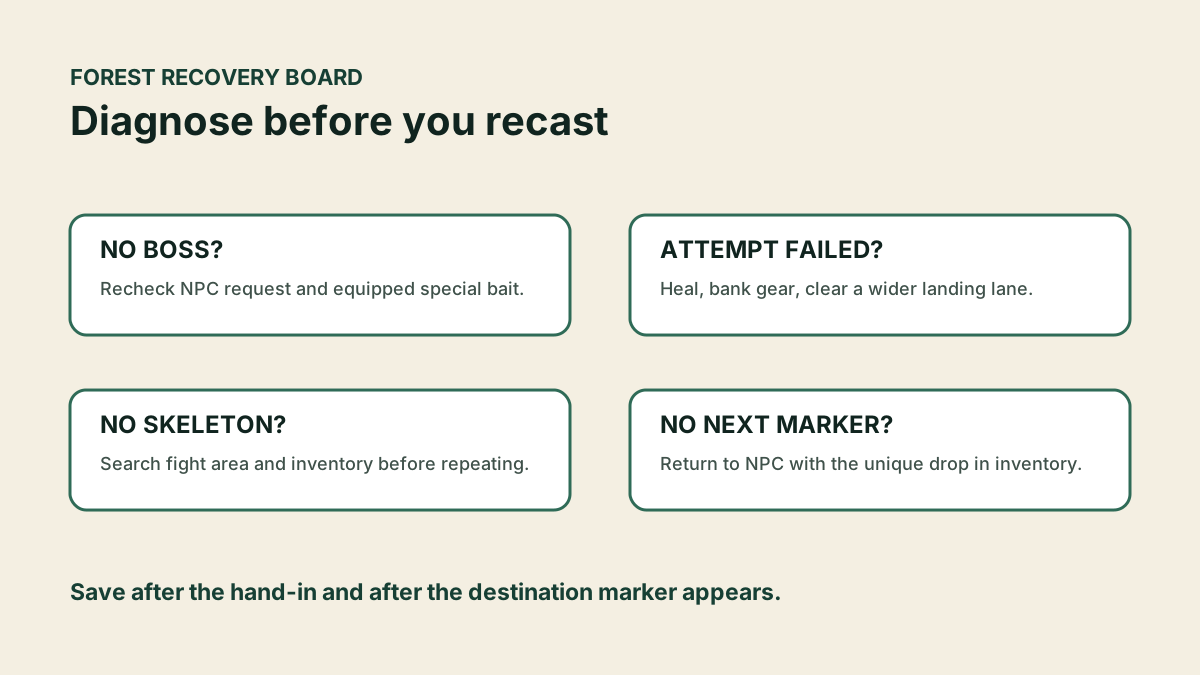
Before boarding, verify four things: the Skeleton is no longer waiting for an exchange, the objective has changed, the next marker is visible, and the route is saved. If any one is missing, stay in Forest. Repeating the boss before checking the NPC usually wastes more time than it saves.
Forest troubleshooting: recover without guessing