ROCKS QUEST CATCH · CHECKED SEP 3, 2026
How to Catch Tuna
in How to Fish Game
Tuna is not ordinary Rocks sale loot during the story route. Catch it with the Professional Boss Lure, defeat it on stable ground, keep the whole body intact, and move that body into the island objective area to trigger Albatross. This guide focuses on the catch, transport, trigger, and recovery steps that prevent an expensive special-lure attempt from stalling the Volcano route.
1. Reach Rocks with the story chain complete
Finish the Desert route before treating Tuna as an active objective. Defeat Pufferfish, collect the Pufferfish Fin, complete the hand-in, and confirm the Rocks marker on Radar. Arriving by exploration or physics does not guarantee that the Tuna-to-Albatross quest state is active. Talk to the Rocks route NPC and read the live objective before buying or equipping a special lure.
Use the regular Professional Lure for the ordinary Rocks collection. Tuna belongs to the separate Professional Boss Lure branch. Because shop prices and exact labels can change between patches, this guide does not promise a permanent cost. Match the complete item name in your current inventory, bank unrelated quest items, and keep enough money or supplies for a second attempt if the body is lost.
2. Prepare a flat Tuna landing lane
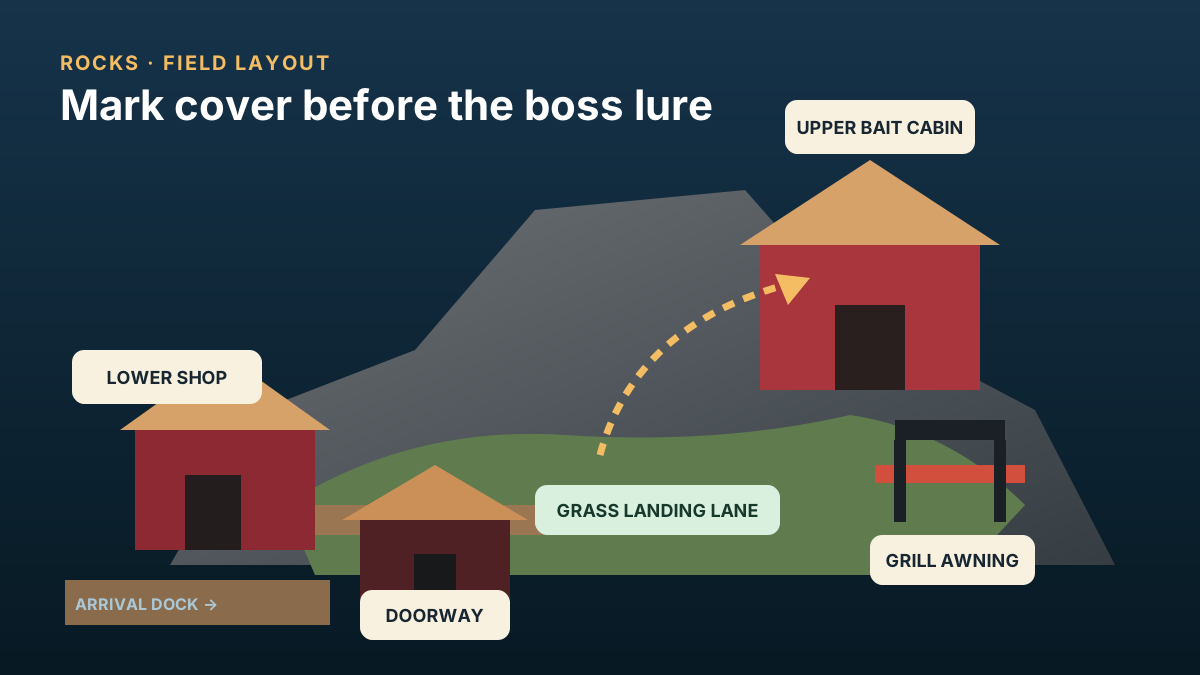
Before casting, choose ground where a large defeated body will remain visible and movable. Avoid deep water, narrow docks, steep slopes, shop doors, roof supports, and the edge of the Albatross cover position. The ideal lane has water on one side, a broad strip of solid ground, and a clear path toward the interior objective area.
Heal, load a dependable ranged weapon, carry food, and make a clean save. Leave inventory and physical space for the body rather than filling the area with ordinary catches. In co-op, agree who will control Tuna and who will keep the carry route clear. Do not let another player sell, cook, carve, or move the body while the objective owner is checking the trigger.
3. Catch and subdue Tuna without losing the body
Equip the Professional Boss Lure only when the combat lane is ready. Reel the catch toward the prepared shore rather than accepting the first landing angle. Once Tuna reaches land, keep yourself between the body and the sea whenever possible. Use controlled ranged damage and stop moving the catch farther than necessary.
- Confirm the lure.Read Professional Boss Lure in the current UI; the regular Professional Lure does not fill the same role.
- Pull toward stable ground.A longer safe landing is better than a fast catch that drops beside deep water.
- Subdue from the landward side.Keep the Tuna from sliding back toward the ocean while maintaining room to dodge.
- Stop after the defeat.Verify the whole body before interacting with meat, cooking, selling, or another cast.
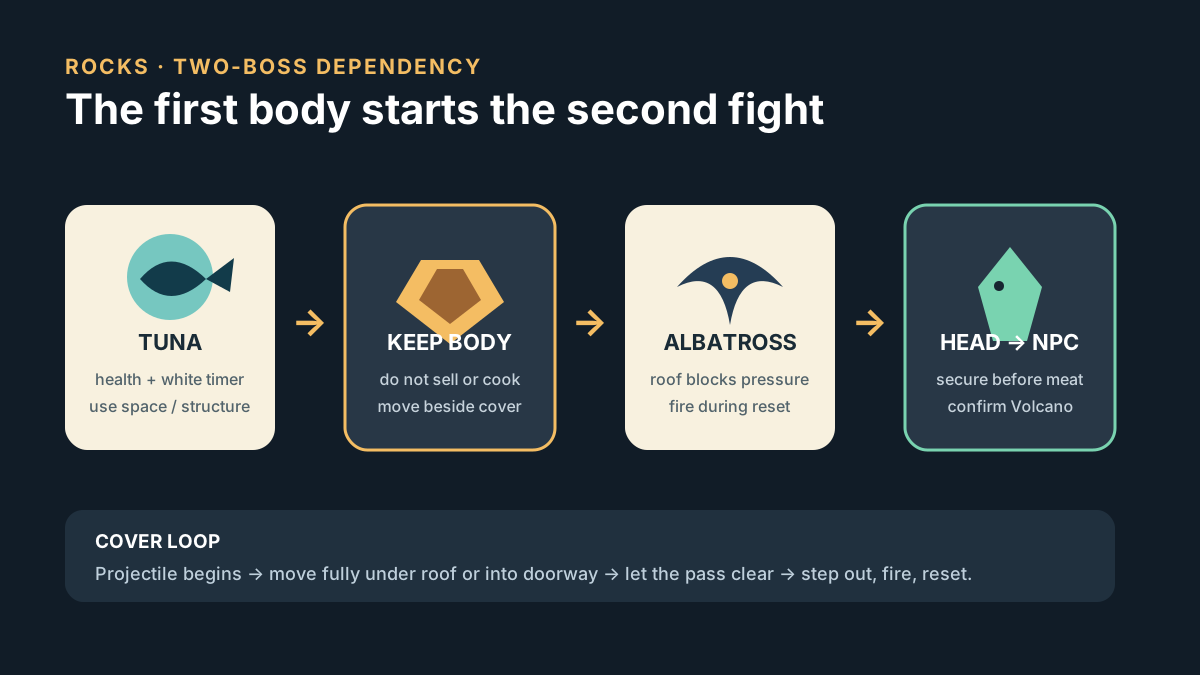
Tuna has reported sale value in community tables, but selling it now breaks the active story setup. The route value of the whole body is more important than a patch-sensitive price. Complete Albatross and the Volcano hand-in first; collect another Tuna later if you want collection or economy experiments.
4. Move the whole Tuna into the Albatross trigger
Carry or drag the defeated Tuna along the interior route indicated by the active objective. The available footage confirms that moving the body through Rocks precedes the Albatross appearance, but it does not establish a permanent radius measured in meters. Use the quest marker and visible spawn response rather than an invented coordinate.
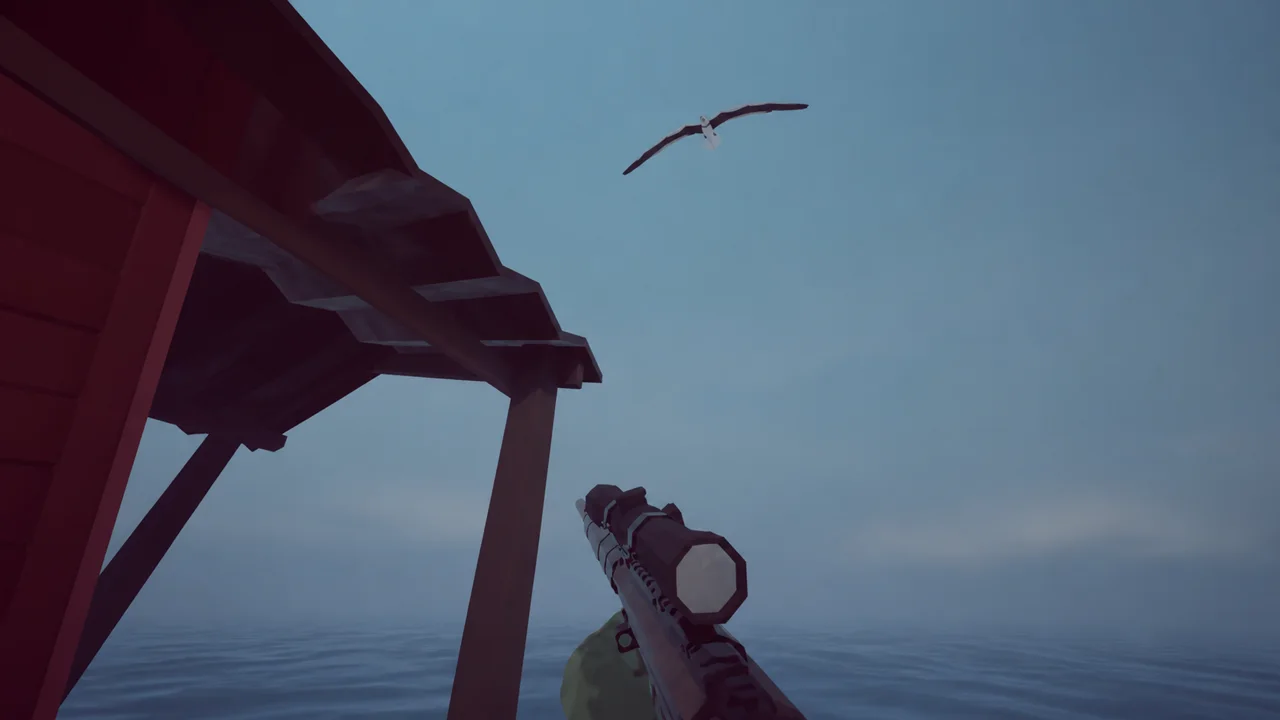
If Albatross does not appear, confirm the body is still whole, move it farther inside the marked area, reopen the quest dialogue, and check that the correct save owner has progression control. Do not destroy the Tuna while troubleshooting. Once the bird appears, leave the body where it is and move to the roof, awning, or doorway prepared for the aerial fight.
5. Recover a failed Tuna setup safely
If Tuna falls into water, search the shoreline and reachable shallows before reloading. If another player moved it, check the island structures and ask every player to stop interacting until the body is found. If it was sold, cooked, processed, or irretrievably lost, restore the clean pre-cast save when appropriate or obtain another Professional Boss Lure and repeat the catch.
If you die after Tuna has spawned Albatross and progression behaves incorrectly, update the game before repeating. Official Patch 1.0.10 addressed a broken state involving death after the Tuna and Albatross sequence. A current version reduces that known risk, but it does not replace a clean save, a safe landing lane, or verification that the Albatross Head is collected after the next fight.