PROGRESSION RECOVERY · CHECKED SEP 3, 2026
Lost Boss Item &
Boss Not Spawning Guide
A boss kill is only the middle of most How to Fish story steps. The route advances when the unique body or drop is collected, carried to the correct NPC or arena, accepted, and followed by a new key, coordinate, or Radar marker. Use this recovery guide when a boss will not spawn, a drop disappears, an NPC rejects an item, or the next island remains locked.
Start with the route-state checklist
Before repeating a fight, read the current objective, reopen the relevant NPC dialogue, and inspect every player inventory. Confirm the exact lure, bait, body, or drop name. Ordinary lure tiers and named story items are not interchangeable. A boss can be defeated correctly while the route remains incomplete because the unique result was left on the ground, entered another player’s inventory, was sold or cooked, or never reached the final hand-in.
- Check the live objective.Make sure the save has reached this island’s active quest rather than arriving early by exploration.
- Check all inventories.In co-op, identify who owns progression and who picked up the unique body or item.
- Search the landing area.Look under the body, on slopes, beside water, around structures, and along the carry path.
- Reopen the NPC dialogue.An accepted hand-in or updated counter is stronger proof than the boss health bar reaching zero.
- Verify the next marker.Do not leave until the key, coordinates, Radar color, or final boat access is visible.
Lighthouse: Empty Beer Can, Shell, and Boat Keys
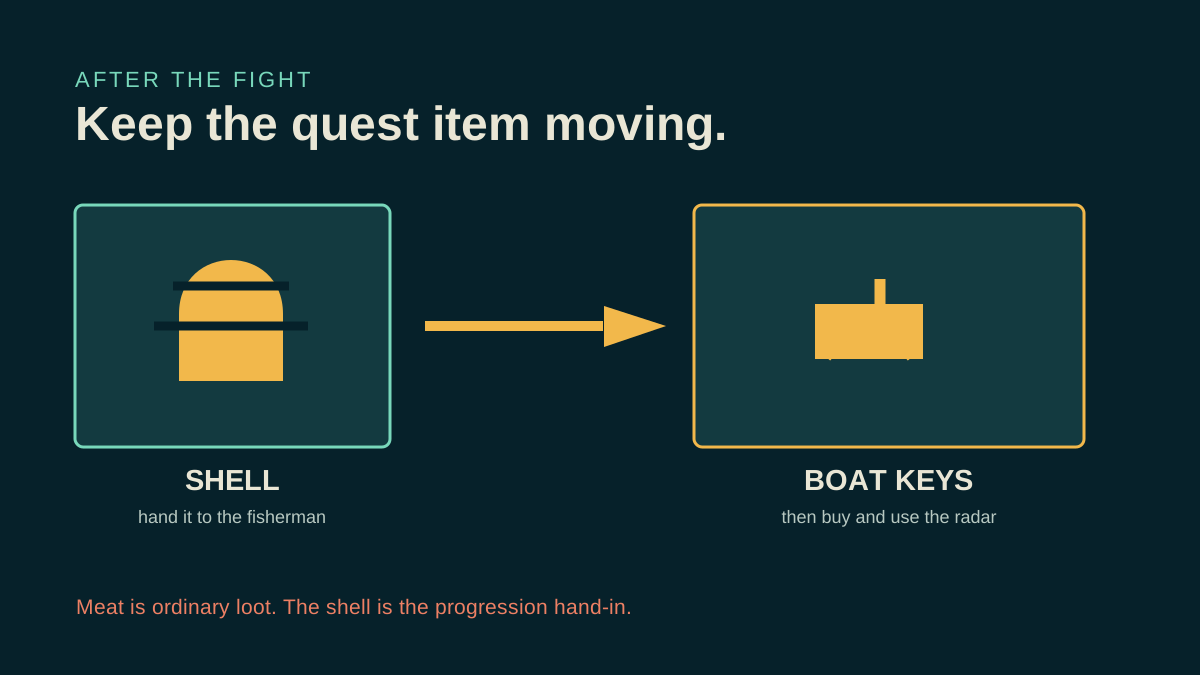
Spider Crab requires the Empty Beer Can returned by the Lighthouse beer exchange. A full can or ordinary bait is not the same trigger. If the boss does not appear, repeat the dialogue and confirm the empty item is equipped. After the fight, search for the Spider Crab Shell and give it to the Lighthouse Keeper. The Shell—not ordinary Spider Crab meat—advances progression.
If the Shell is lost, inspect the shore and every co-op inventory. If it was sold or cannot be recovered, repeat the beer exchange and boss attempt from a flatter landing area. The Lighthouse step is complete only when Boat Keys are awarded; purchase or use the required Radar follow-up and confirm the Forest marker before departing.
Forest: Leech bait and Giant Piranha Skeleton
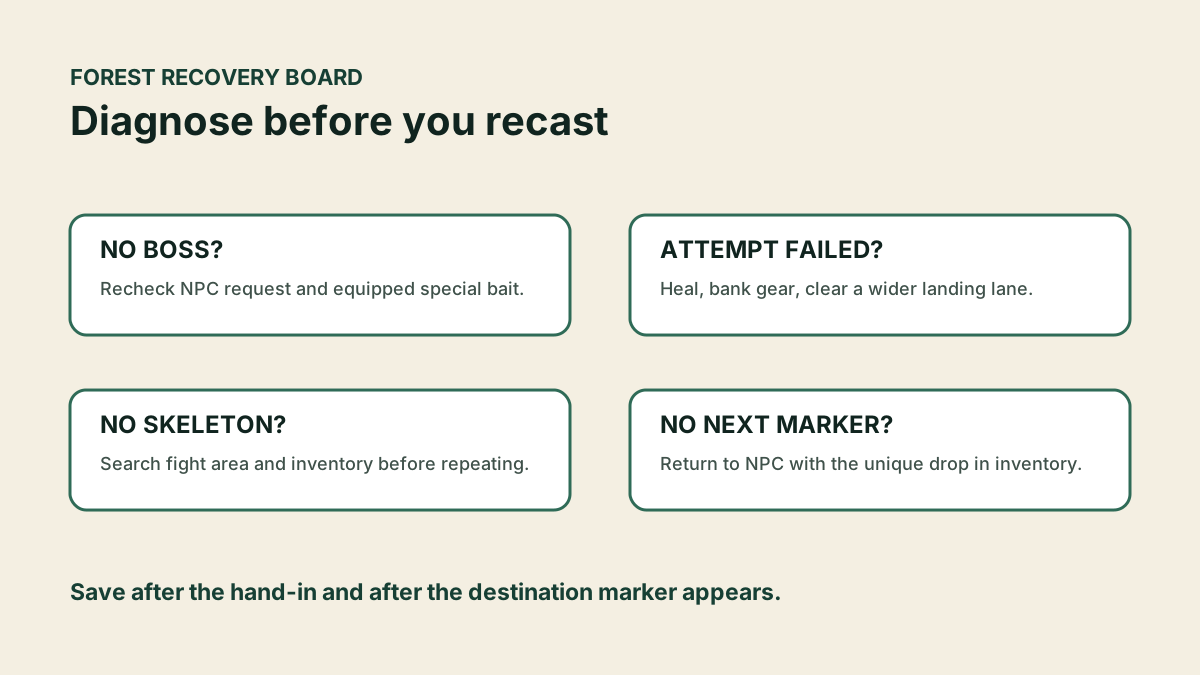
If Giant Piranha will not spawn, confirm the live Forest Leech counter and special exchange rather than casting a regular Beginner Lure. Patch wording can change, so use the objective and NPC dialogue as authority. After the fight, collect the Giant Piranha Skeleton before handling meat, food, or add drops.
If the Skeleton is missing, search beneath the large body, along slopes, around water, and through every co-op inventory. If it was processed or lost, repeat the Leech exchange and create a safer landing lane. Return the Skeleton to the active Forest NPC and wait for the Desert marker; simply defeating Giant Piranha does not finish the route.
Desert: Carrot, Pufferfish Fin, and Rocks marker
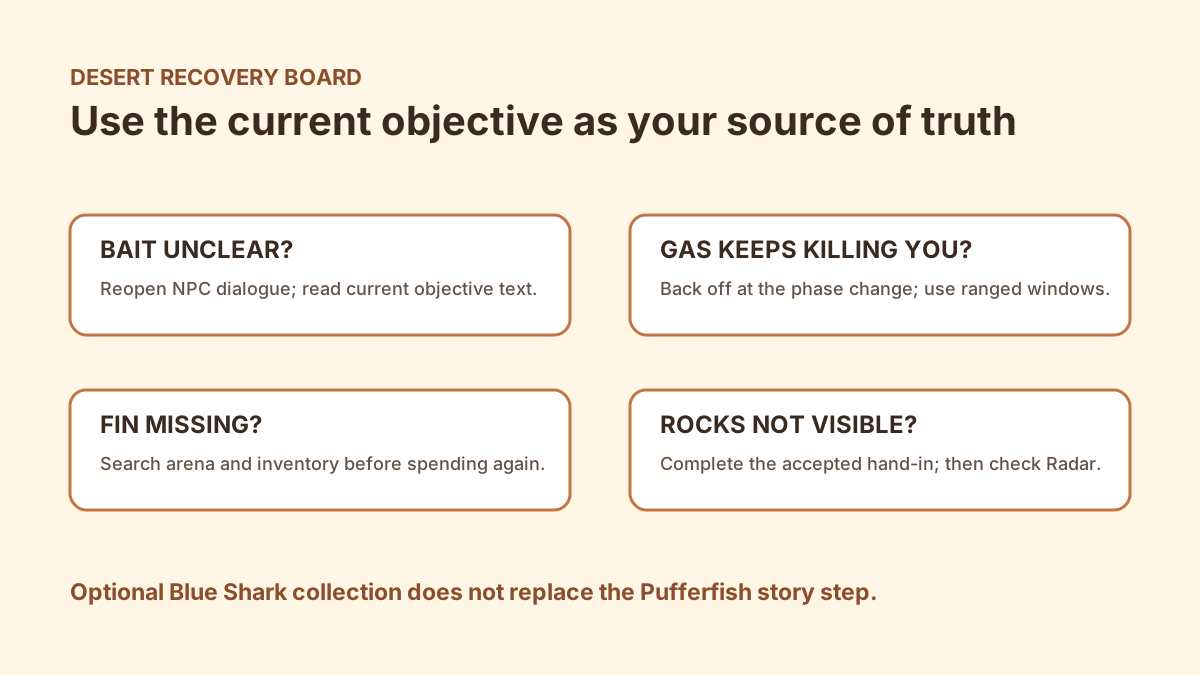
Build the demonstrated chain by using Coconut to catch Bing Bong and giving that catch to the nearby objective islander for the Carrot lead. If the NPC rejects the catch, verify the creature label and active quest. Cast the Carrot only when the Pufferfish combat lane is ready; Standard Lure is not a substitute.
After Pufferfish falls, search immediately for the Pufferfish Fin. If it disappears, inspect the ground around cover, the waterline, and co-op inventories. A lost Fin requires another Carrot route and boss attempt unless a clean save can be restored safely. Complete the Fin hand-in and confirm the Rocks marker before leaving Desert.
Rocks: Tuna body, Albatross Head, and Volcano coordinates
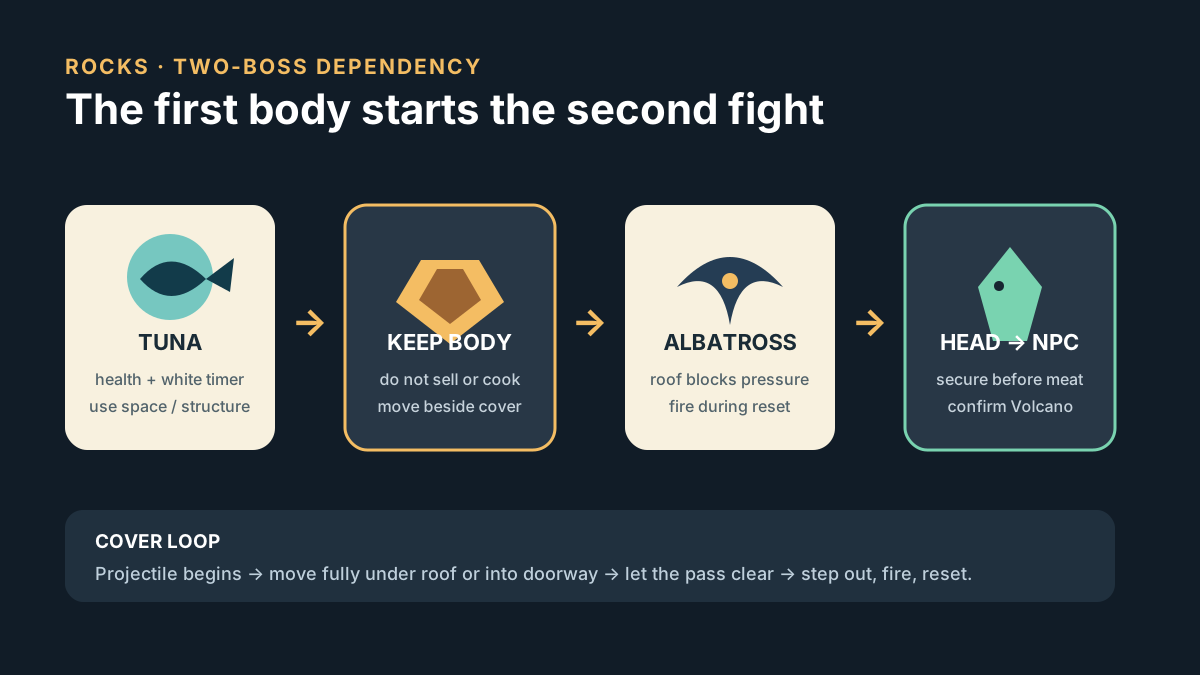
If Albatross does not spawn, return to the Tuna step. Use Professional Boss Lure, defeat Tuna on stable ground, and keep the whole body intact. Do not sell, grill, or process it. Move the body into the live objective area; the footage confirms the dependency but not a permanent measured trigger radius.
After Albatross falls, collect the Albatross Head before ordinary loot. If you died after spawning the bird and progression is broken, update the game; Patch 1.0.10 addressed a known state involving this sequence. If the Head is lost, repeat the Tuna chain from a clean setup. Volcano appears only after the Head is accepted and the final coordinates are confirmed.
Volcano: Fish Bucket, Bowhead body, Whale Fin, and ending key
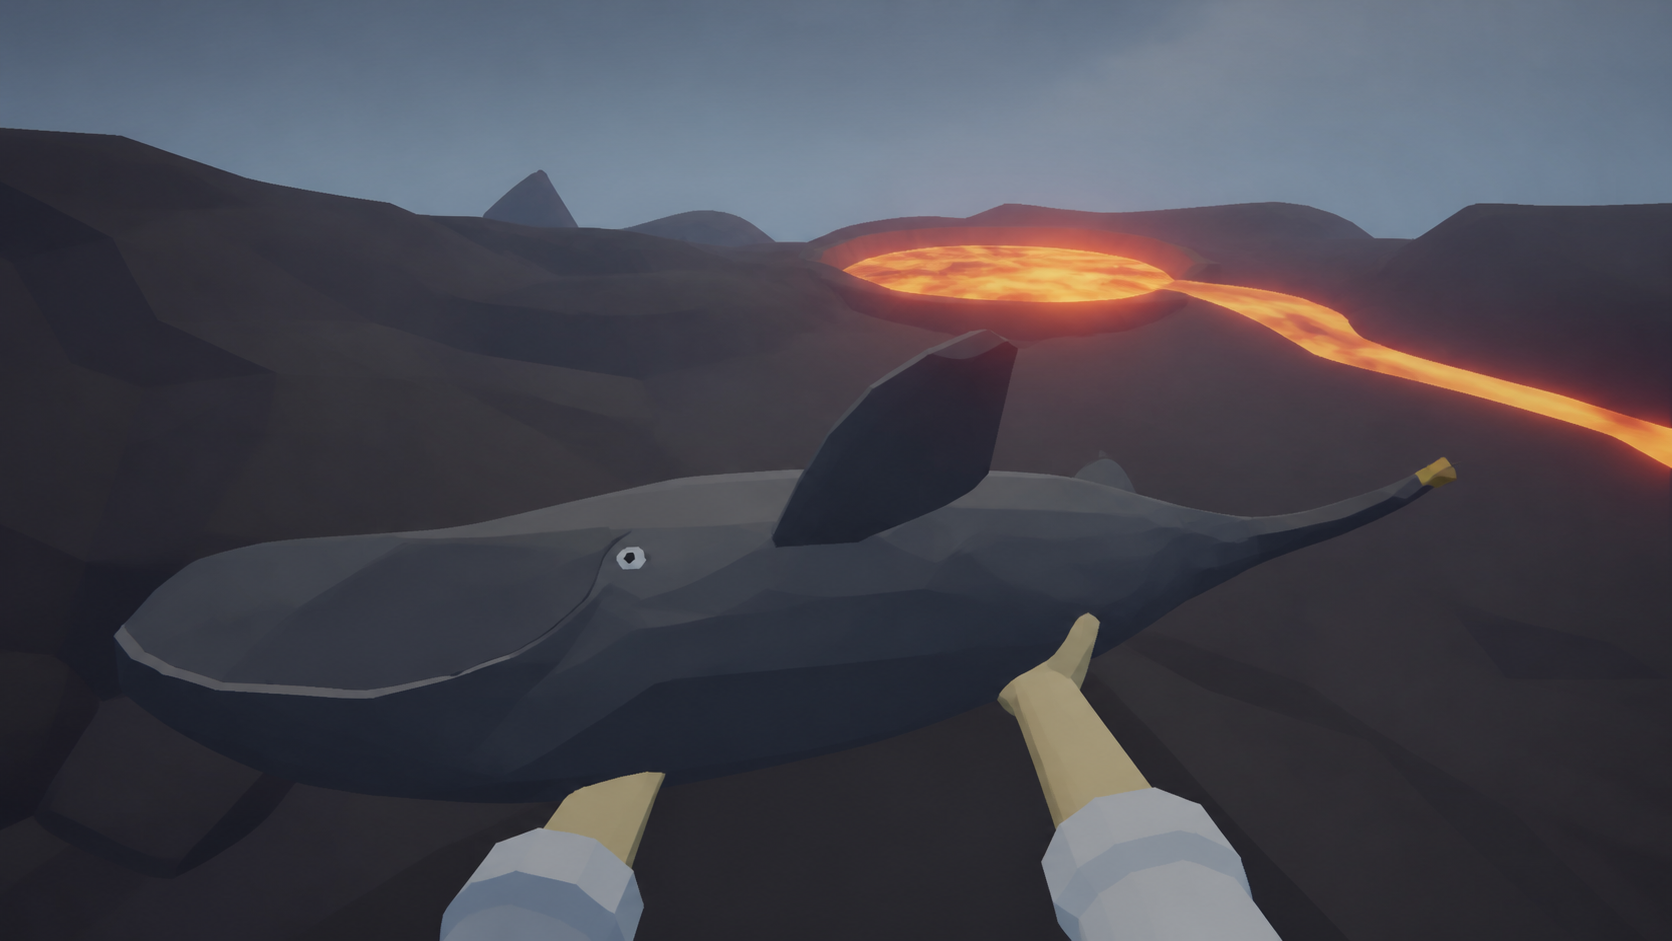
If the Scientist counter will not advance, start the dialogue and use regular Scientific Lure rather than Scientific Boss Lure. When the current counter completes, confirm the Fish Bucket. Use it for the regular Bowhead Whale, preserve the whole body, and carry that body to the actual crater marker. Meat or a partial whale item will not start the mutated stage.
If Mutated Bowhead Whale does not spawn, inspect the Bowhead carry route and confirm the Scientist step completed. After the final fight, find the Whale Fin and return it to the Scientist. The final health bar is not the ending unlock: the Fin must be accepted and the military-boat or RHIB key must appear. If the boat remains locked, return to the Scientist before replaying the fight.
When to reload instead of retrying in place
Reload a clean save when a unique body has entered unreachable water or lava, a physics object is irretrievably trapped, a teammate’s inventory state is unclear, or a known patched progression state persists after updating. Do not repeatedly test on the only save while carrying multiple unique items. Record which step was complete before the reload and verify it again afterward.
When the object is still visible and reachable, recover it in place first. Move ordinary loot away, clear enemies, and use stable ground. The safest prevention is consistent across every island: make a save before the named summon, leave space for the result, assign one co-op carrier, collect the progression item before optional loot, and confirm the next marker before sailing.